Admissions tasks
Using the Admissions tasks feature, you can create a list of tasks for your Applicants that they will have to complete in order to be admitted to your university.
The Admissions tasks you have created will be displayed for all your Applicants, both those who have applied before and those who will apply later.
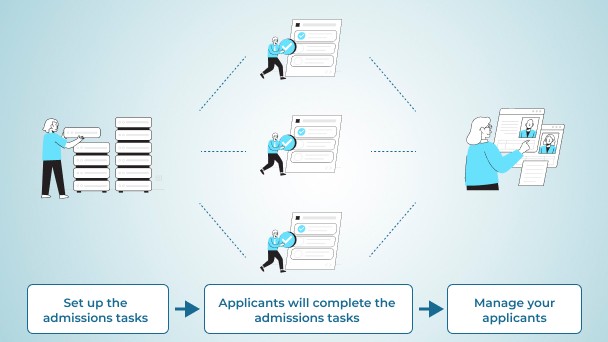 Each Admissions task is an easily customizable form with a set of fields that you can use to request additional information from Applicants, as well as specify what they need to do after the Applicant submits the Application form to your university in the Free-Apply.com system.
Applicants will be able to perform Admissions tasks for your university as soon as they send the Application form to your university.
Types of admissions tasks
Create a set of Admissions tasks according to your university's admissions process. You can ask the Applicant to upload passport information, existing diplomas and other information. You can also ask the Applicant to perform the actions required for admission: sign up for a student visa, pay the tuition fee, etc.
Create one Admissions task per action.
For example, you can create an Admissions task named Passport to request information about your Applicant, and an Admissions task named Education to request information about diplomas.
Creating Admissions tasks
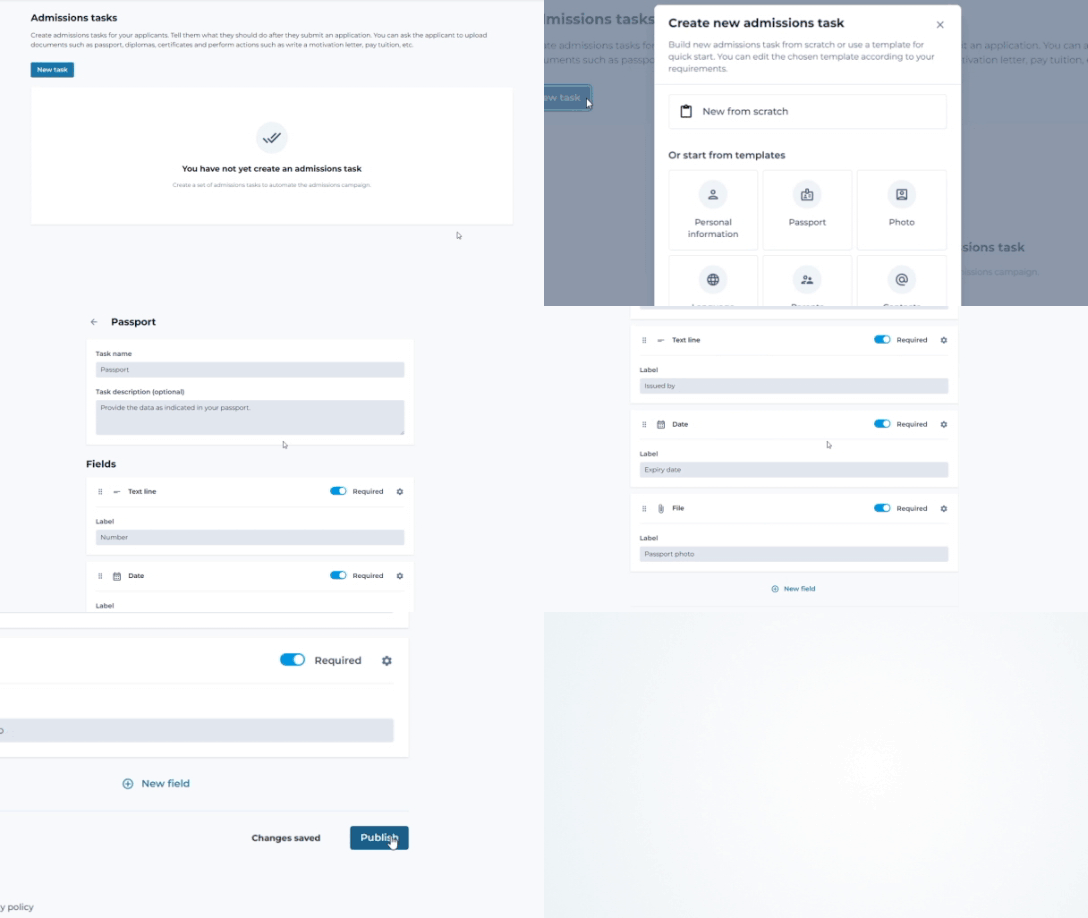
- To create an Admissions task, go to the Admissions tasks section and click New task. You can create a new Admissions task, or you can use one of the available templates. Later you can edit the template fields to suit your needs.
- Add Admissions task fields, their descriptions, specify the obligation to fill them in. While you are creating and editing the Admissions task, it is in Draft status.
- After you finish editing the Admissions task, click Publish. At this point, the Admissions task will appear on all your Applicants and will be available for execution.
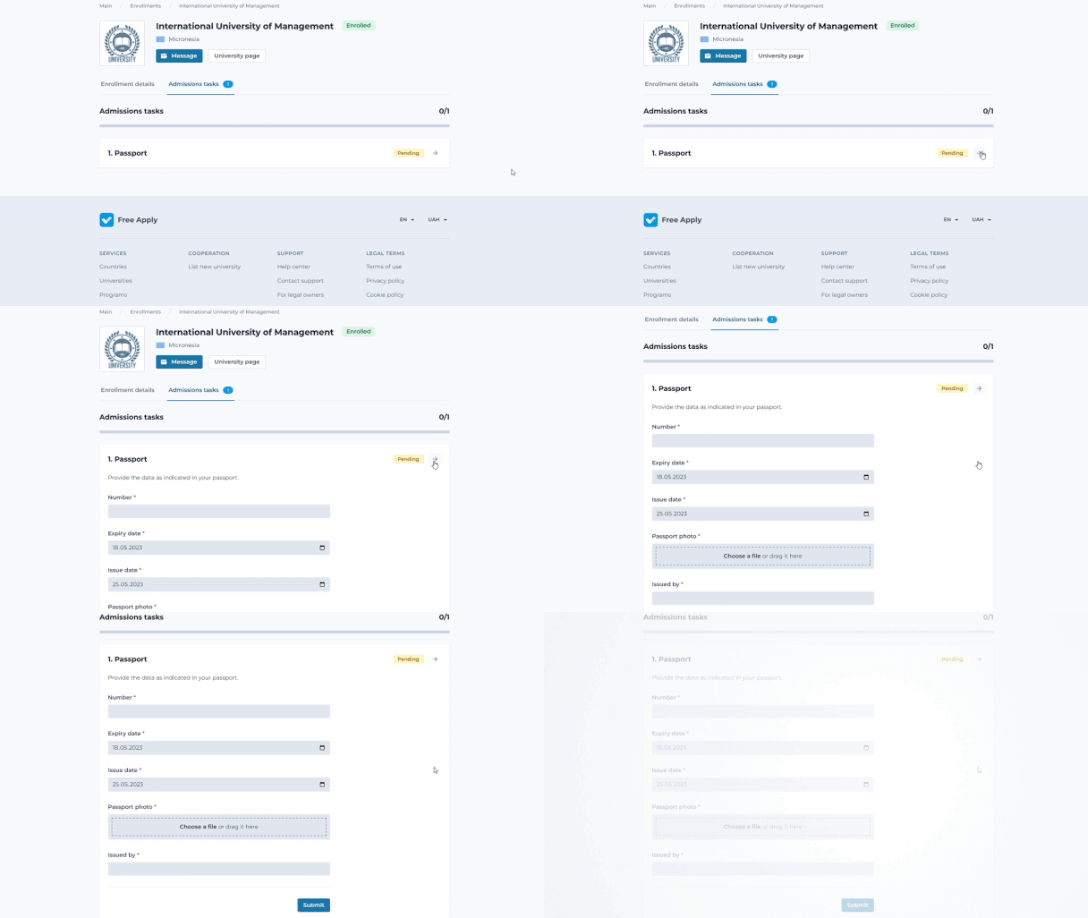 How the Admissions task will see your Applicants.
Admissions task fields
Add, remove, and edit fields on the template to request from the Applicant the information you need to enroll at your university. Use the appropriate field type for this.
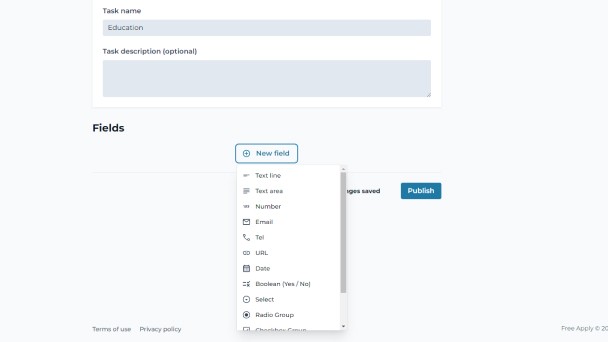
Available field types:
- Text line - for short texts.
- Textarea - for long texts.
- Number - for entering numeric values.
- Select - to select one of the options you set.
- Radio button - to select one of the options you set.
- Checkbox - to select several of the options you set.
- Boolean - to select Yes/No.
- Date - to select a date.
- Email - to enter an Email.
- Tel - to enter a phone number.
- Country-allows you to select one of the countries in the world.
- Link - to enter a URL.
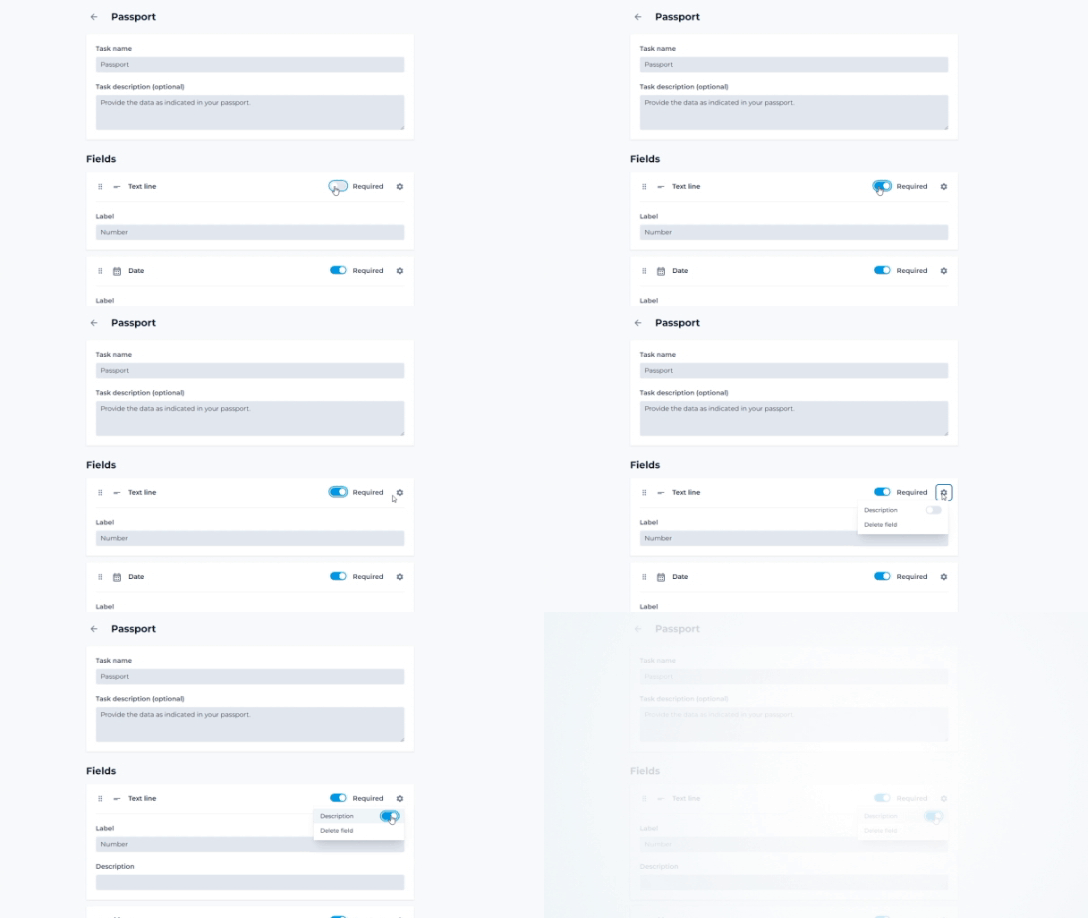
You can make the field required.
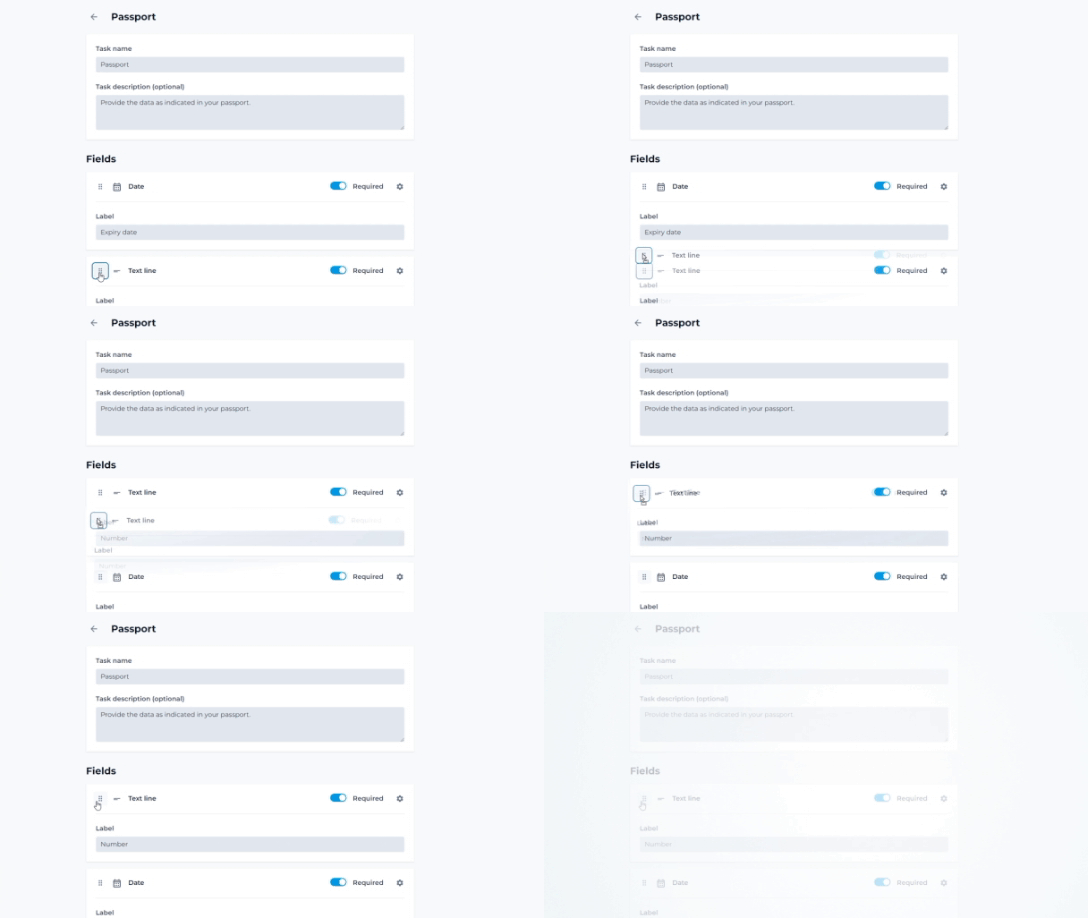
You can add a description for each field. It will be displayed for the Applicant. Move the fields to place them in the necessary order.
Admissions task statuses
After you publish an Admissions task, it will automatically appear on all your Applicants and will be available for execution. As long as the Admissions task is not completed, it will be in To Do status.
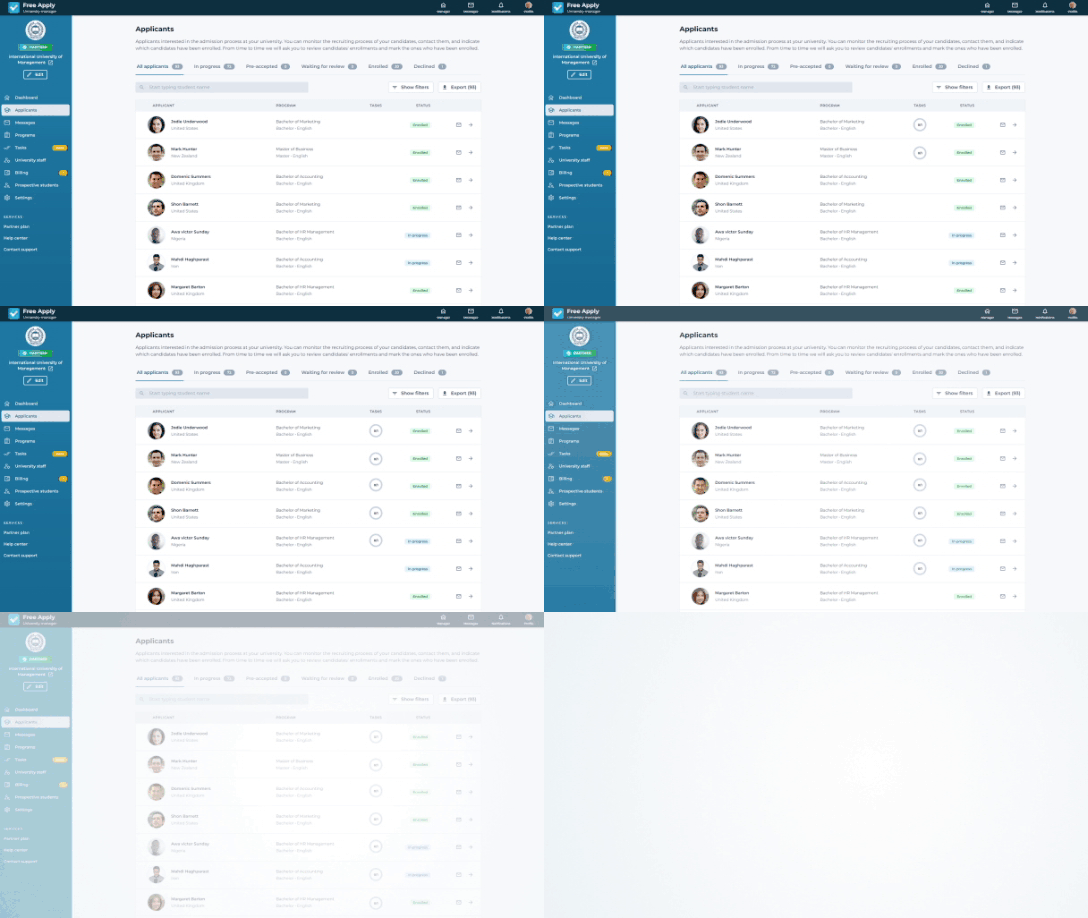 Once the Applicant completes the Admissions task, it will be moved to Completed status, and you can view the submitted data on the Applicant's page.
If you add a new field to a task that has already been completed by some Applicants, those tasks will be moved from Completed status to Requires Update status. This means that the Applicant will need to submit additional data for the Admissions task to be completed.
Deleting Admissions tasks and their fields
If you delete an Admissions task, any of its fields or options in the Select, Radio button or Checkbox, you will lose the data earlier submitted by Applicants.
Review Admissions tasks
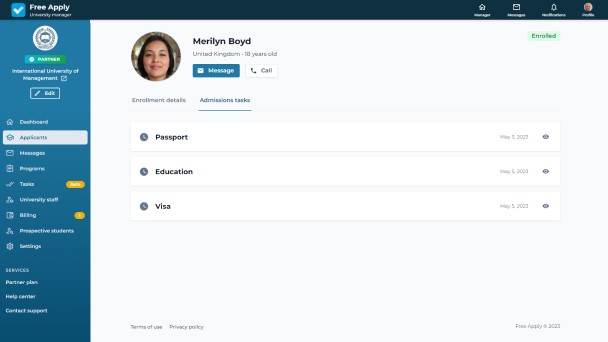 To review completed Admissions tasks, go to the Applicants section, select the Applicant you want to review, go to their profile, and click the Admissions tasks tab.
